
When I saw this black little vase on the shelf in the thrift store, it was screaming makeover! I thought it's curvy rim and it's three little footers were more soft and feminine and its black color spoke to a more masculine nature.
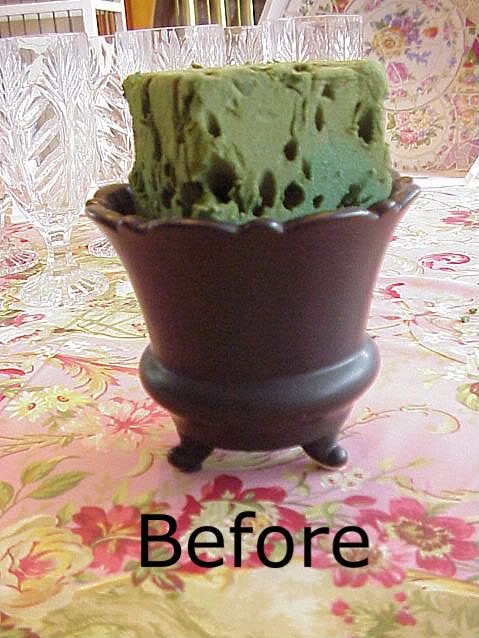
I knew instantly I wanted to make it softer, more feminine, compliment its dainty nature.
Since it is made of ceramic, I examined it for any cracks for flaws. It was in perfect condition.
I removed the floral foam and cleaned out the inside.
Underneath was a sticker that needed to be removed. If you've ever had trouble removing the adhesive residue from stickers, try using a spritz of WD-40. Spray it over the tag or adhesive residue, wait a minute or two, then scrape it off. Once all removed, use a little rubbing alcohol to clean away any dirt and grease.
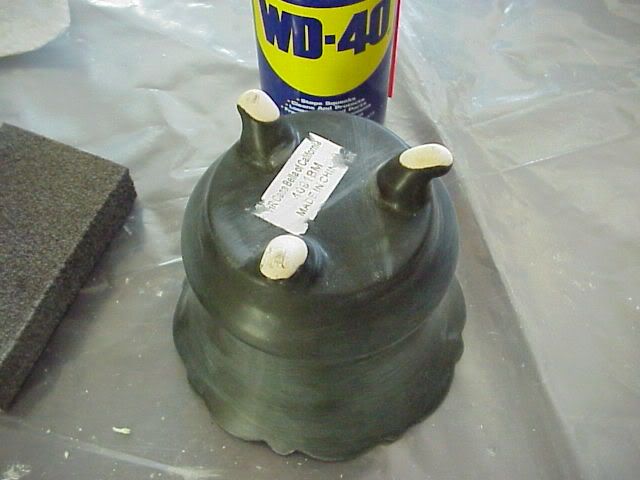
It works great on even the gooey-est adhesives!
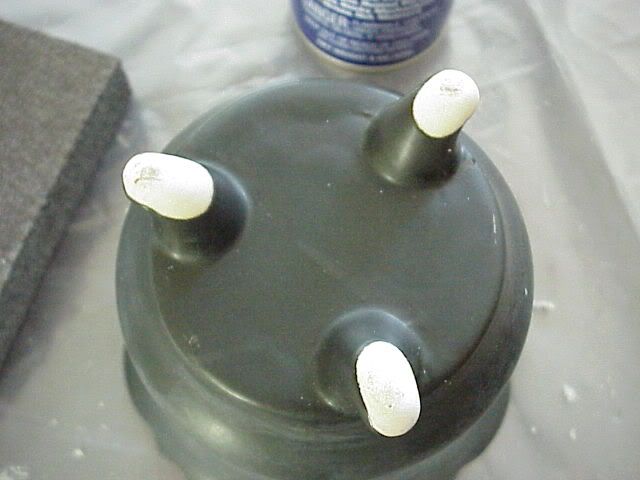
I lightly sanded the surface so that the primer would have something to latch onto.
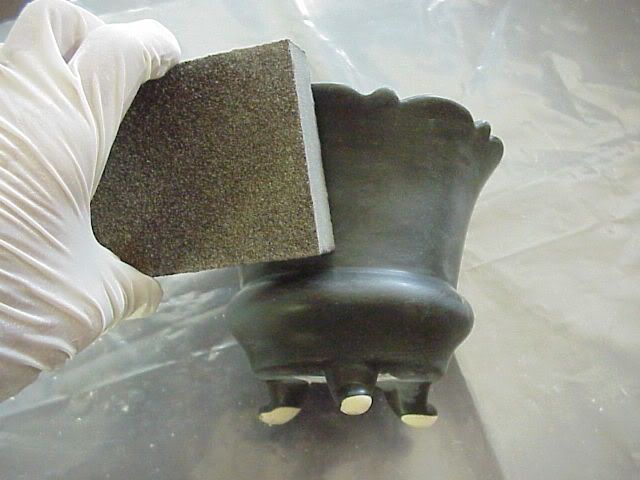
Be sure to sand around every area to be primed.

Dust off any residue from sanding with either a paper towel or cloth. When I paint or as in this case, spray paint items such as a vase or tray, I use the inside of a large cardboard box. This helps contain the most from the spray as well as prevent any wind from misdirecting your spray.
I used Kilz Original Sealer-primer stainblocker. I like to first spray the inside and around exterior body are that is not in contact with any surface. Be sure to shake the spray can vigorously, hold it about 10-12" from the base and spray in a steady back-and-forth motion. I will quickly re-shake the can after each release.
Once it is completely dry (in about 30 minutes), I place the vase upside down on a holder; in this case I'm using an old candlestick.
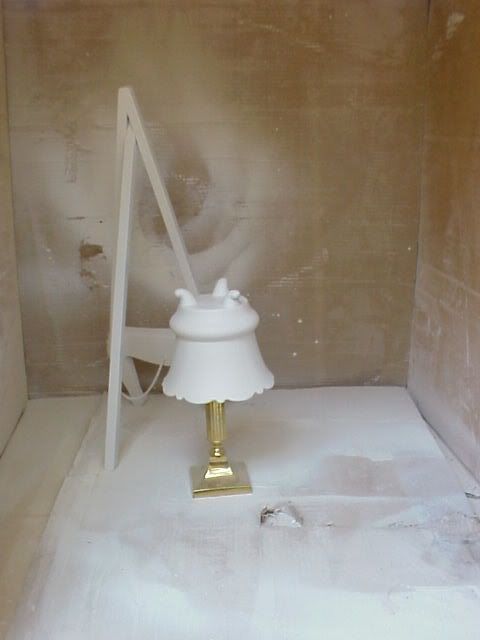
This prevents any pooling of paint around the bottoms or footers. I then spray the bottom, and around the body. (The easel in the background was also being primed).
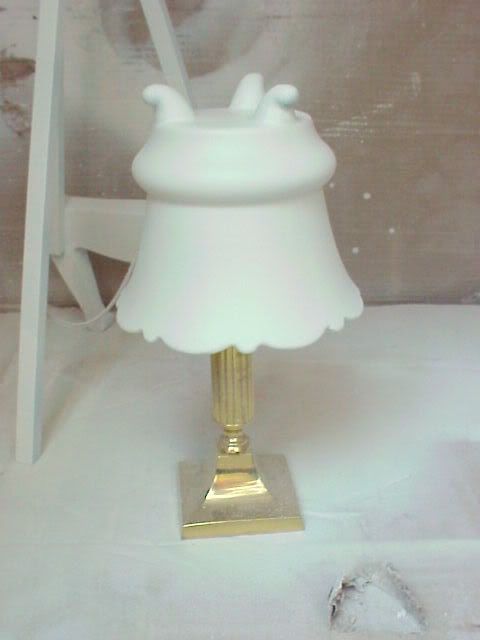
Once it dries (in about 30 minutes), I make sure all areas are adequately primed. Since I'm going from dark to light, I don't want any black showing through or affecting the new lighter color.
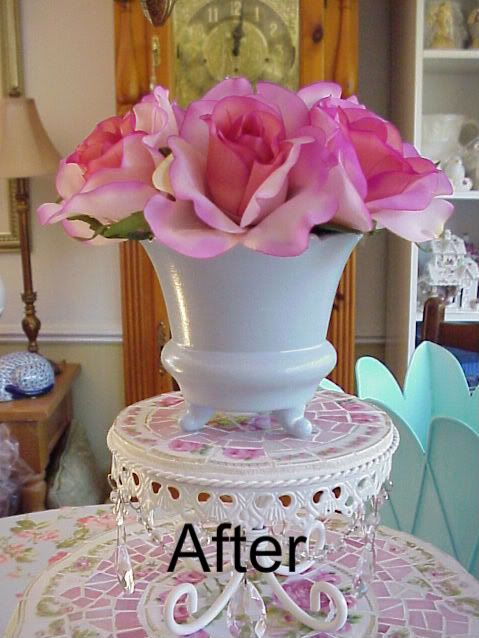
The finish color I selected for this vase was a mix of my own. I used American Accent Blossom White (Lowes) mixed with Delta Ceramcoat Coastline Blue (Michaels). I gradually mix the blue into the blossom white until I reach the desired hue. I like using American Accents with the Delta Creamcoat as it usually dries the exact same color as when wet (no surprises).
I painted the finished color with a disposable foam brush, painting the inside and outer rim first, then turned upside down to do the exterior and bottom. I let it dry for at least 8 hours so the paint will cure. Once it is cured I then spray a clear finish coat. You can use a mat (non-shine) or a high gloss. I want some shine on the finish so I used Rust-oleum Lacquer High Lustre Coating on the rim and the exterior.
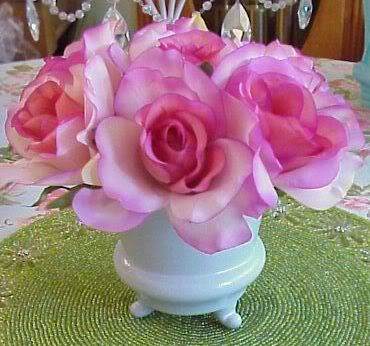
There you have it! A brand new pretty blue ceramic vase!
If you have any questions or comments, please feel free to post them. I love hearing from you!
Enjoy!

6 comments:
I love what you did!
Questions:
1. I just heard about liquid sander. Have you ever tried it? (as opposed to hand sanding)
2. I have trouble getting a smooth finish when i use a brush, so i just spray small things.
Is there a reason not too?
3. Sounds like the lacquer finish would be a lot better than the matte finish art spray i use.
Maybe water resistant??
4. Where did you get that mosaic cake plate???
LOVE IT!!
Blessings, and thanks.
Glad i found you.
Barbara Jean
Your finish coat
Hi Barbara Jean!
No, I've not tried liquid sander. I just lightly sand it so that the primer has something to grab on to; it only takes a second.
The only time I don't spray is when I mix my own colors...otherwise I op to stray! I avoid using a brush, I stick to foam brush, smoother finish.
I use either mat or gloss lacquer, it depends on the finish I want. I find it waterproof provided it has two "thorough" coats.
As for the little cake stand, it has a mommy, I got them both at Ross a while back. I mosaic'ed both the little one and the big one with vintage china I nipped myself.
Best,
Tina
Ok I am am hooked...I have wanted to try mosaics forever...and by far your instructions are the best....and you live in San Mateo...we are neighbors...my son in law is a police officer there....I have been collection china for a little while...so when I am ready to try my hand at a fabulous creation...I know where to find the right way to do it....just have to get the tools....great blog...
Hugs
Thanks so much Mo! When you are ready just let me know if there is anything I can do to help you along with your project!
Best,
Tina
I have a lamp with a shiny ceramic base that I've been wanting to paint, this technique is just the ticket!
Thanks for posting the step-by-step.
How pretty! I agree that black seemed to be an odd choice for this piece :)
Post a Comment