 Basic Supplies:
Frame
Seashells ~ assorted types and sizes
Focal ~ in this project I used a Star fish
Adhesive ~ you can use glue stick or any adhesive that will dry clear. For this project I used industrial strength E6000. You can find it online and at most hobby or hardware stores.
Plastic disposable gloves
Primer ~ Spray or brush on
Paint ~ Spray or bush on
Dust Mask
Note: If using E6000 industrial adhesive, be sure your work area is well ventilated.
If you will not be painting your frame, just give it a light sanding to give the glue something to "grab" onto.
Choosing a frame ~ This works for any type of frame, be it for photos, mirror, or black/chalk board, as long as you have ample room for the shells. I look for frames with ample recessed areas for a more polished look.
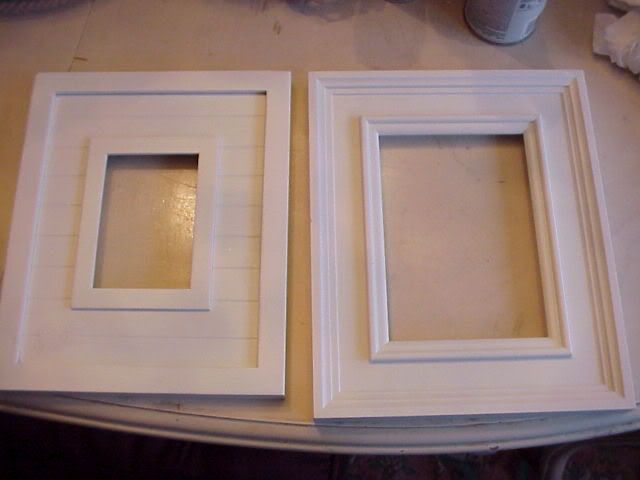
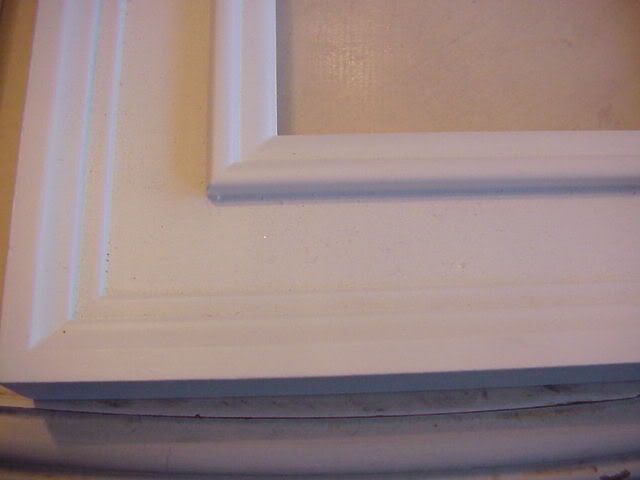
The frame in this project is 13"x11" with a 2.25" recessed area (3" in the corners).
I used an assortment of seashells that measured from approximately 1/2" up to 2"; the corner shells are 3".
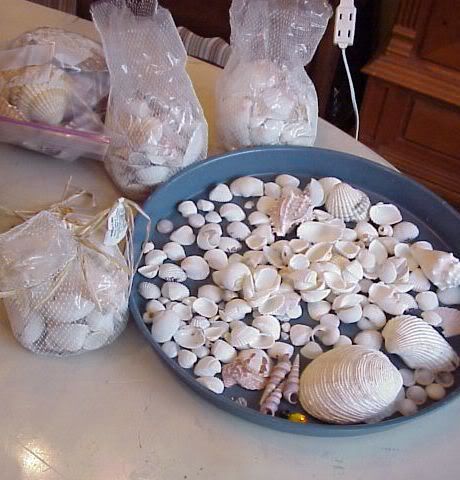
I used a 3.5" x 4" starfish for my focal. I wanted a beachy white cottage theme with only a hint of color. I bought the bag of assorted mix shells (about $7.00) at Michaels.
This is a larger frame (13"x11") so I used approximately 80 shells of varying sizes (approximately 2 netted packages)
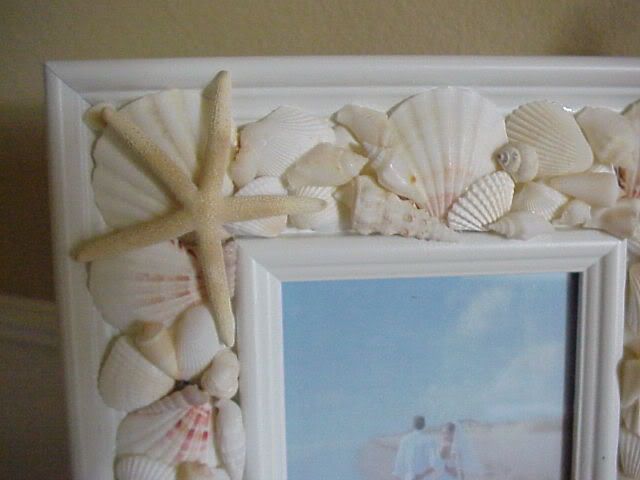
This frame was originally black. I lightly sanded the frame to remove the sheen, primed it with KILZ white pigmented sealer, primer stainblocker. Once the primer was dry, I applyed the finish top coat to only areas that would not be covered by the seashells. I used American Accents Blossom White (by Rust-oleum).
Once everything was dry, I laid out some of the shell to get a "feel" for the design and to make sure the shells I wanted to use would work. For this project, I wanted a more flowing, carefree layout...almost as if I just tossed them onto the frame.
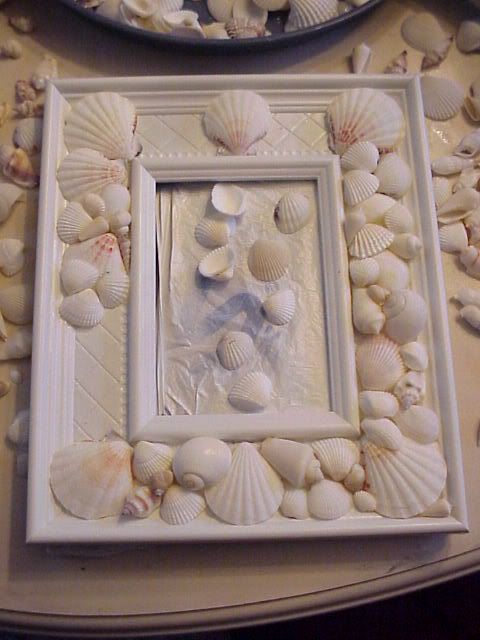
Once satisified, I began gluing the shells in place.
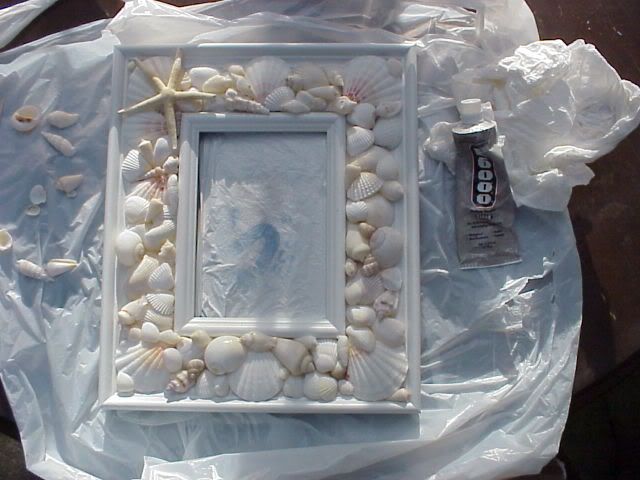
I used the larger shells first and filled in with the smaller shells.

If you are using E6000, allow the adhesive to dry flat for 24 hours to avoid any shifting.
Once the adhesive is dry, your frame is ready for use.
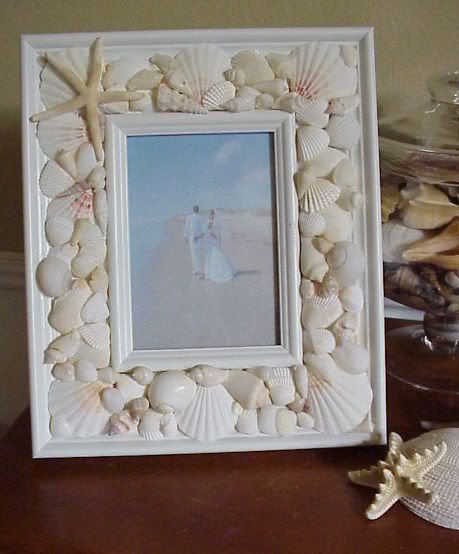
If you have any questions, feel free to email me anytime!
Cheers!


5 comments:
Thanks Tina for sharing your knowledge! I've a few boxes of seashell bought at an estate sale and this will be a good beginners project. Warm hugs, Esther
I am such a show me how to do it gal...love this project and just may try one soon.
Thanks for sharing your talent.
Oh, they are so pretty, and it doesn't look too terribly difficult. Thanks for the step-by-step directions. laurie
Yep... I need one of these too :))
Soo pretty!!! Love it!!
~ Michella ~
xoxoxo
Post a Comment