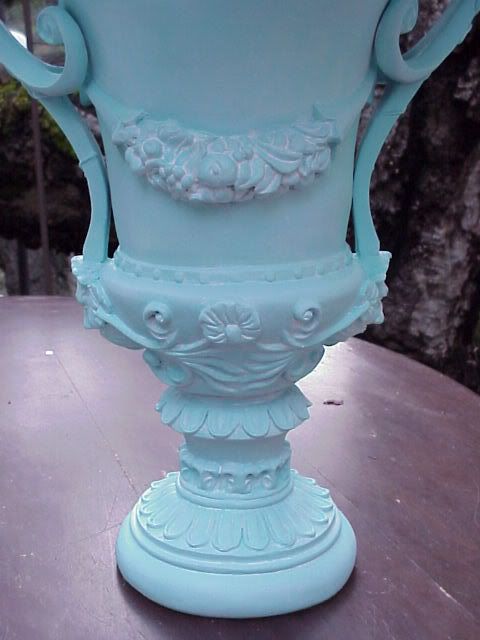
 The aqua treatment on this urn fairly simple. There are 3 main steps, with an optional 4th:
Step 1: Base coat of Kilz original sealer/primer spray paint (Lowes/Home Depot). Let dry completely before moving on to Step 2.
Step 2: One coat of Design Master Robin's Egg #792 spray paint (Michaels). Let dry completely before moving on to Step 3.
Step 3: A mixture of uncolored glaze (Lowes) with a bit of American Accents, Blossom White paint (Home Depot). I use the glazing to tone down the Robin's Egg #792, as the color comes out very bright. If you like it that way, you can skip this step.
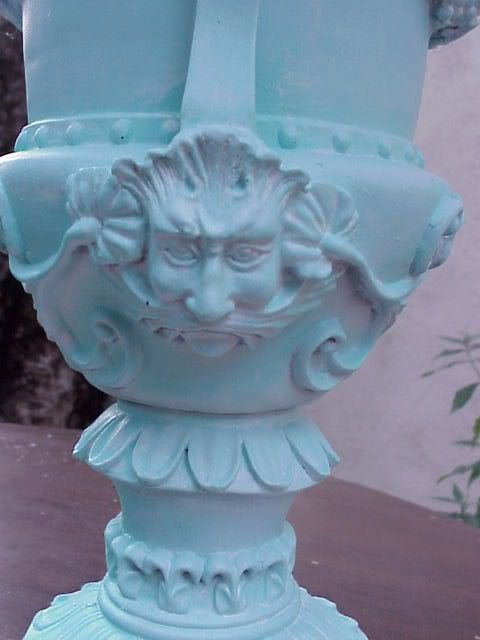
The glazing process is the "make or break" step. Brush on your glazing, then wipe it off. If you take off too much, you can always apply more and wipe some off.
Be sure you work in small areas, particularly where there is lots of dimention and detail. You don't want the glaze to dry before you get the chance to wipe some off.
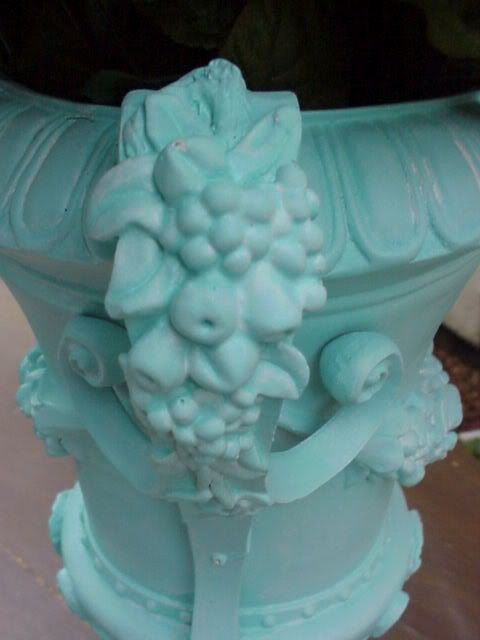
You can buy the pre-tinted glazes. I prefer to use less white than what normally gets mixed in the the pre-mixed glazes.
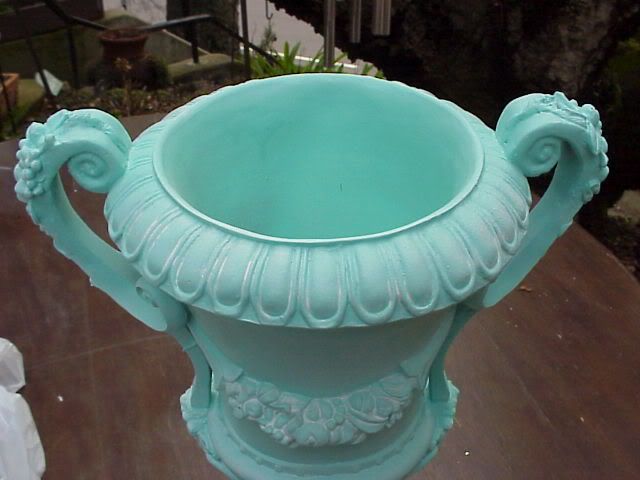
When doing any kind of jardiniere, be sure to pay attention to the rim and the inside as well....
Optional Step
Step 4: Finish with a coat (or more) of lacquer spary. I use Rust-Oleum Lacquer. If I want to protect the finish without any shine, I would use Satin. For the look of ceramics, use High Lustre.
How many coats you apply is to your taste. Just be sure to let it dry between coats.
I elected not to use a lacquer finish.
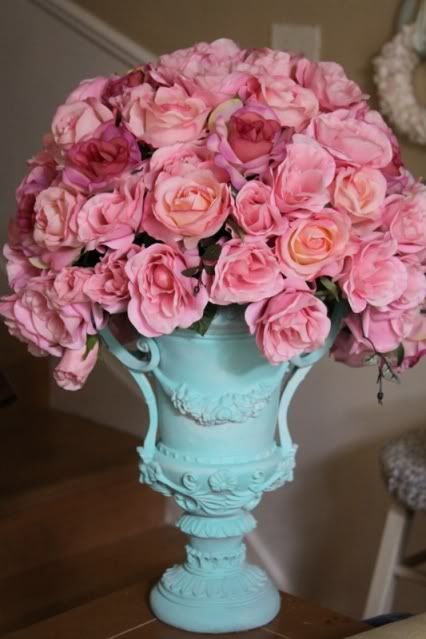
Now, once you have achieved the desired result, it's time to put it to use! You can leave it on its own or fill it with flowers, faux or real! Here I'm going to fill it with loads of faux pink roses...
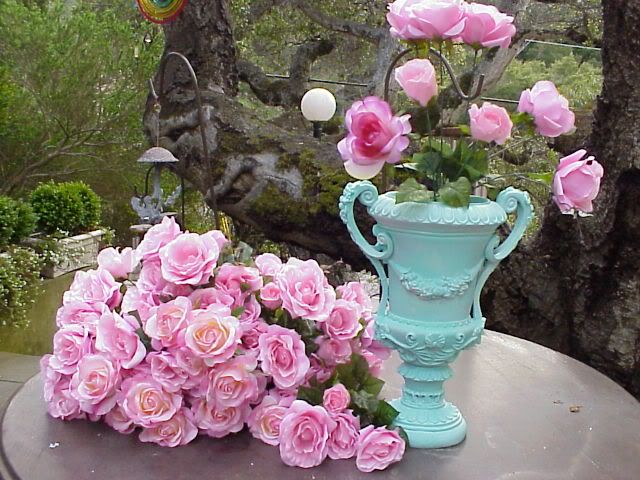
Voila!
Don't forget to take a photo to show off your creation! I'd love to see it!
If you have any questions, feel free to contact me at enchantedrosestudio@yahoo.com!
Cheers!

4 comments:
One of my favorite things to finish a faux finish is white shoe polish--the kind in a bottle with a sponge applicator. It gives a nice translucent haze to whatever you put it on. It has a nice working time--but don't over work it or it will peel. You can use the sponge for different effects--graining effects, stippling, etc. It transforms scary 1970's potter class thrift store finds into great shabby chic accessories! A great finishing step is spray adhesive and vintage mica snow or clear glass glitter!
Hi Tina!
Perhaps I missed something, but what is the base material the urn is made of? And, are there other types of urns (meaning base materials) that you suggest? It came out beautiful! Also, thanks for viewing my blog! Hope we can back and forth! Cheers to you!
Karen
Karen, the urn is made of resin. I'v not shabbified a cement base urn as Mother Nature does a much better job than me. ha!
Cheers!
Tina
So pretty Tina!!
And the roses are gorgeous, where did you get those??
Sheryn xo
Post a Comment