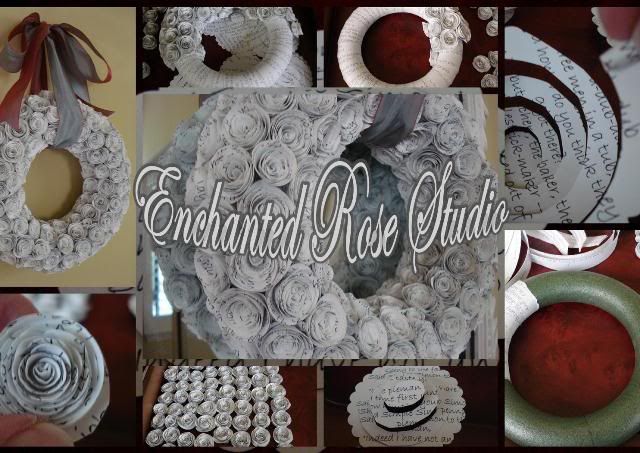
Welcome! Let's begin with this interesting little diddy. According to Dictionary.com, a glutton for punishment is: someone who habitually takes on burdensome or unplesant tasks or unreasonable amounts of work.
Hmmmmm, now why does that sound somewhat familar? ha! Making the rosettes are super easy, but making enough for a wreath is crazy labor intensive.
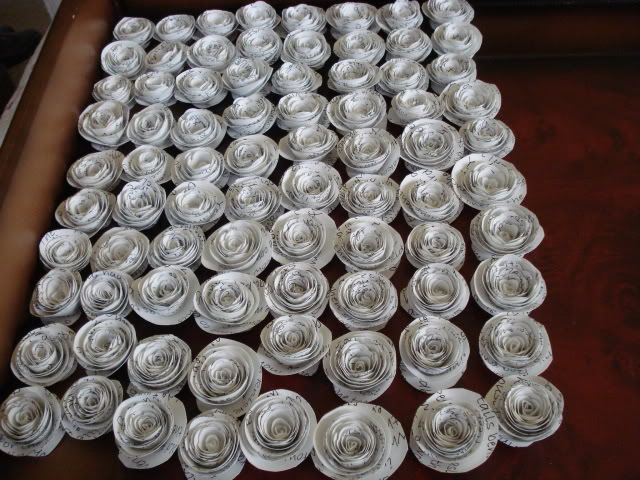
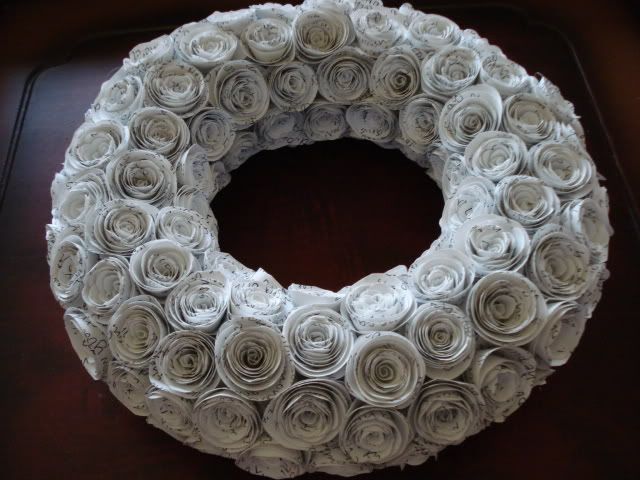
those paper rosettes (plus another 150+ more) became this....
Hello Gorgeous!
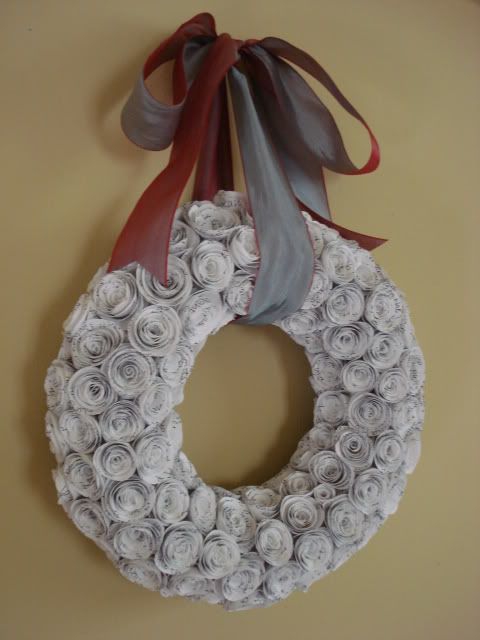
Supplies I used to make this wreath:
Marvy 3.5" paper punch with scalloped edge
10" round styrofoam form
book pages
sissors
low temperature glue gun & low temp glue sticks
Note: There are many options here. To create circles, you can use sissors, paper punch or, for you lucky duckies out there who have one, a cricut personal cutter. The circles can be edged to make florettes, stained or tinted, or edged with glitter. The size of your circle will determine the size of your rosette; a 3.5" circle will yield a 1-1.5" rosette (depending upon how tight or loose you roll it). Use can use just about any wreath form type, shape and size..
MAKING A PAPER ROSE
I punched out 3.5" circles with my paper punch from torn book pages (full page). Note: If the pages are thin, may be best to use two pages at a time.
I then cut the circle into the spiral, leaving a "tab" at the end. (This table is essential for securing the rosette to itself and the wreath form.)
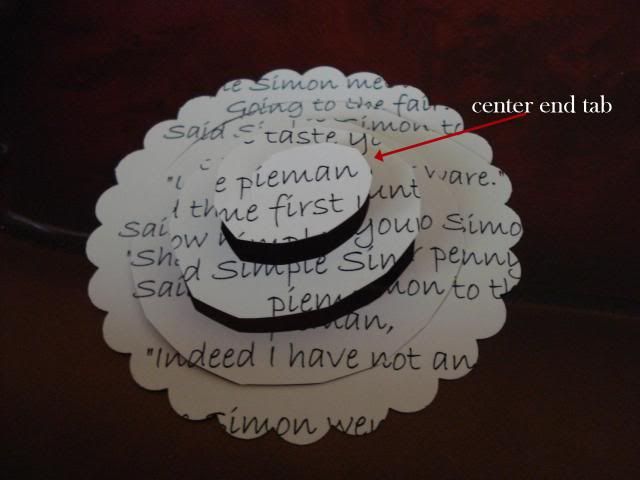
You can draw the spiral with a pencil if you need a guide, I just winged it. The spirals don't need to be precise.
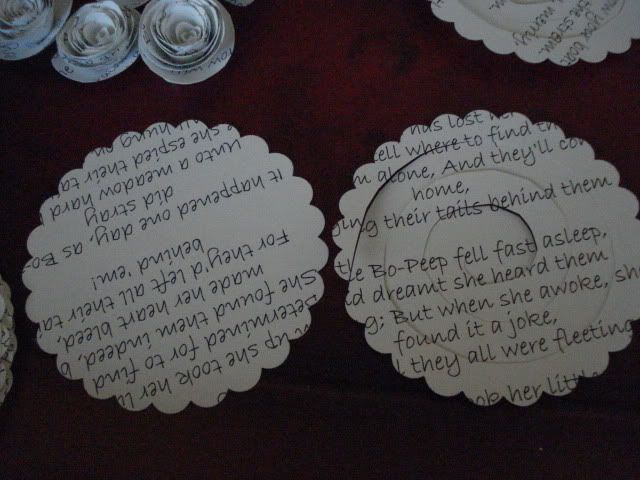
Begin rolling from the outside toward the center tab.
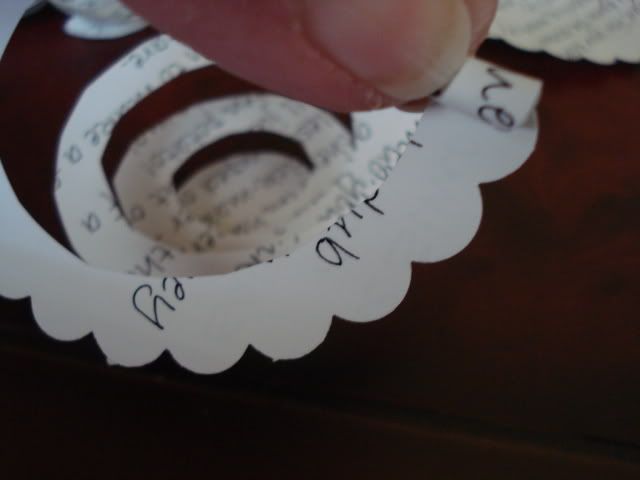
I just use my thumb and middle finger to start the tip and continue to roll to the center tab.
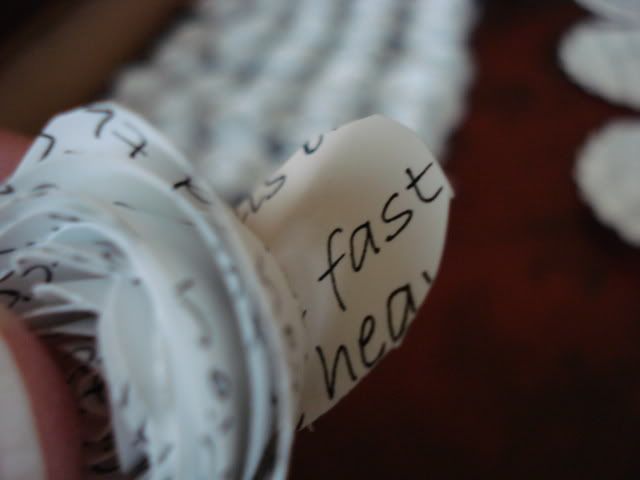
It doesn't matter how tight or loose you roll it. Generally, I ended up with a somewhat tightly rolled rose.
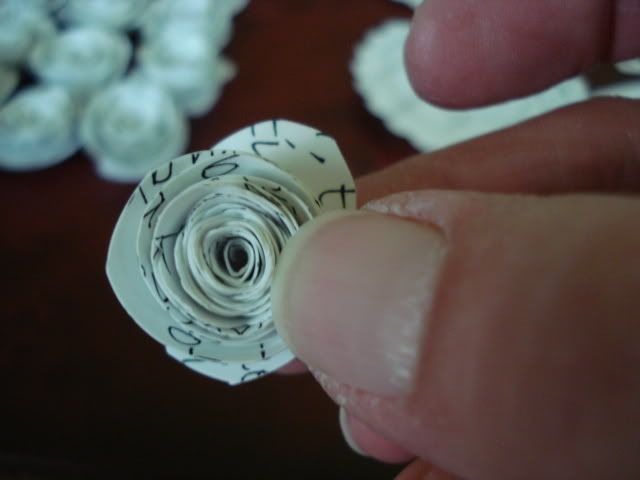
To loosen, I held it between my thumb and middle finger and let it unravel a bit.
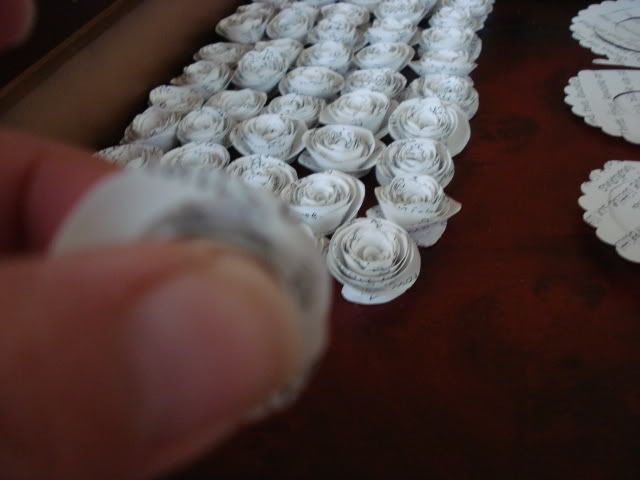
Not each rose need be the same size. If you've unraveled too much, just twist it from the center to tighten.
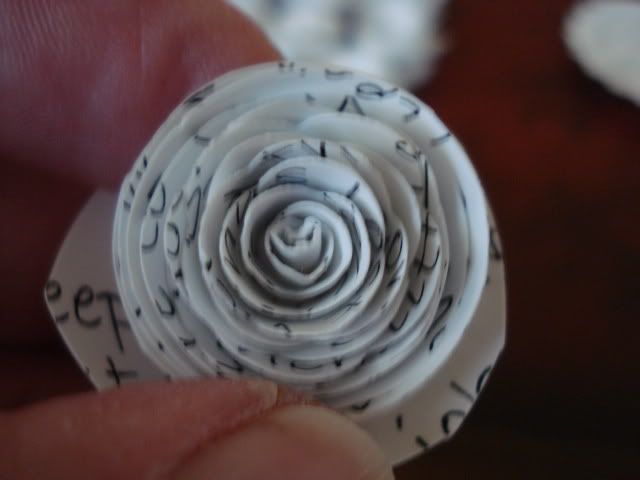
Apply a spot of low temperature glue (careful not to burn your fingers. Even though it's "low temperature" it's still hot!).
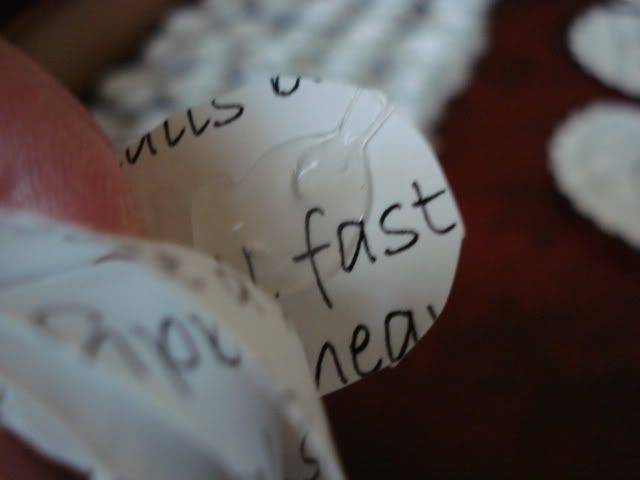
Press the tab to the bottom of your spiral and let dry for a moment...and there you have it!
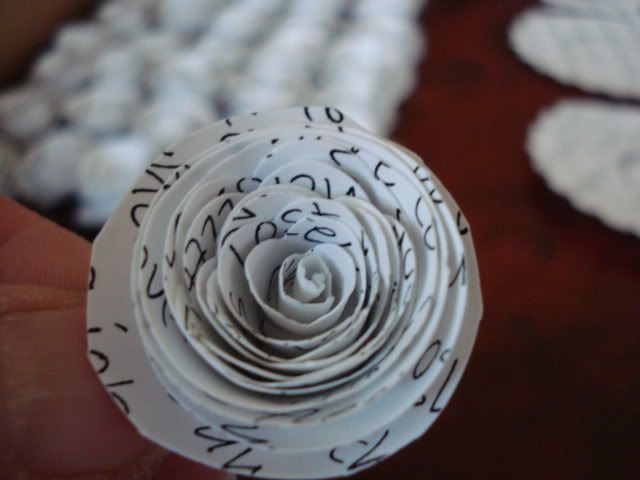
After doing a few you will become a pro at it.
These finished rosettes would also be charming on other applications such as gifts and cards.
APPLYING ROSETTES TO WREATH
Using a spot of glue from your glue gun, cover the wreath form with torn strips from book pages...
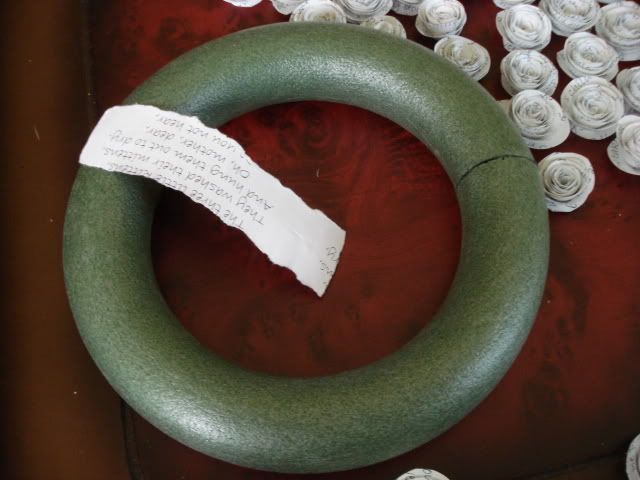
Overlap the strips as you go.
I like to attach the strips on the same side for a more finished look.
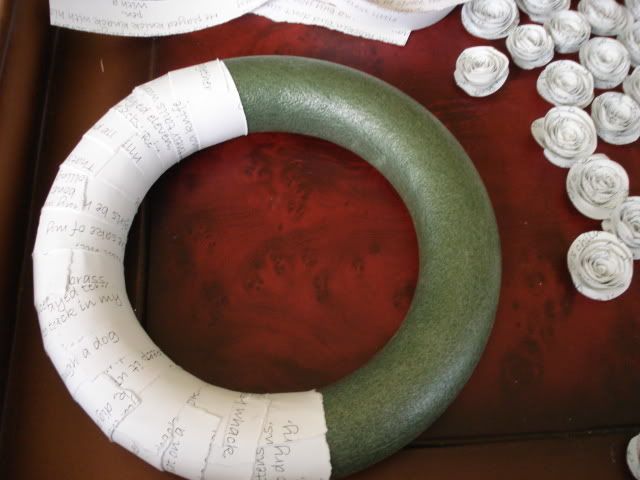
Filled the wreath form with the rosettes by applying some glue from your glue gun and pressing it onto the wreath form...
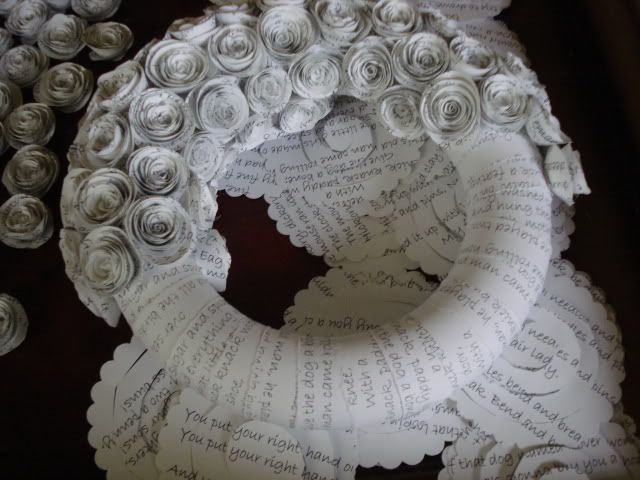
I started applying the rosettes without any pattern in mind as I wanted to cover all sides. (Note: For covering just the sides and front, see "For Flat Back Wreath" instructions below.)
This is how much (or how little) the 80 rosettes covered.
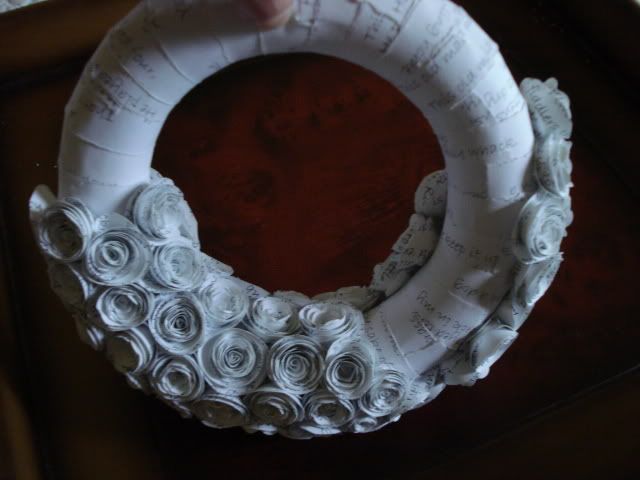
After making another 150+...voilá!
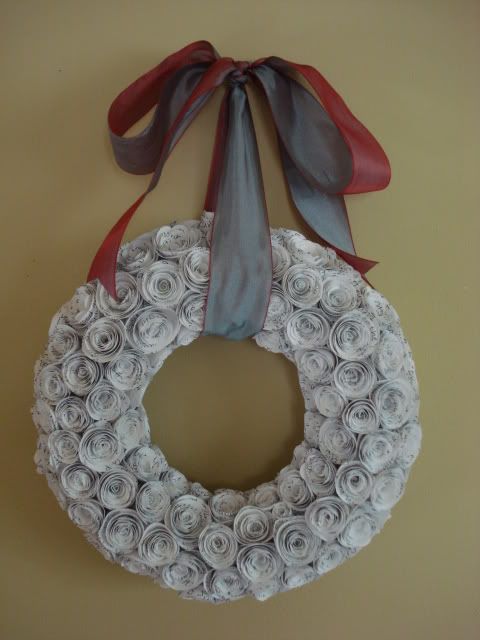
I finished it off with the last of my favorite two-toned ribbon...
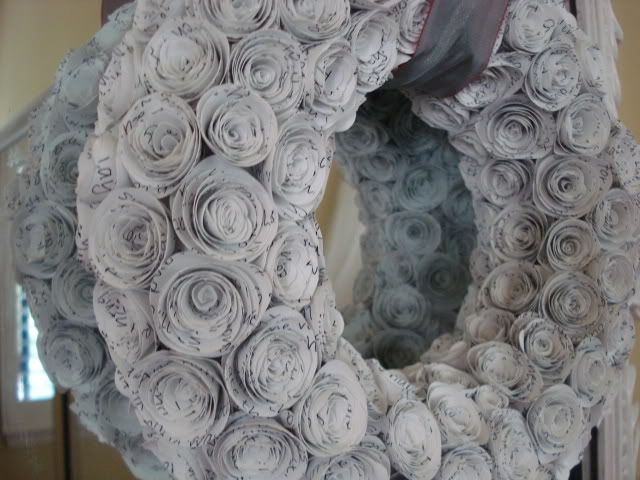
I like to cover the entire wreath form when the finished wreath is to be displayed on a window, wreath stand or mirror.
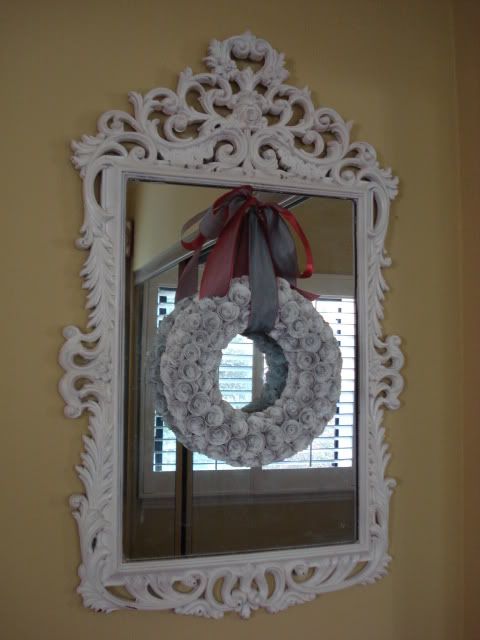
So much prettier than having a plain backside showing..yes?! ha!
FOR FLAT BACK WREATH - Pink Heart Wreath
You would think I would just sit back and enjoy the fruits of my labor. But nooooooo not me!
NOTE: This is where the definition I posted at the beginning might apply...that whole "glutton" bit ha!
I wanted to make one for Valentine's Day, so I rolled up 100 of these...
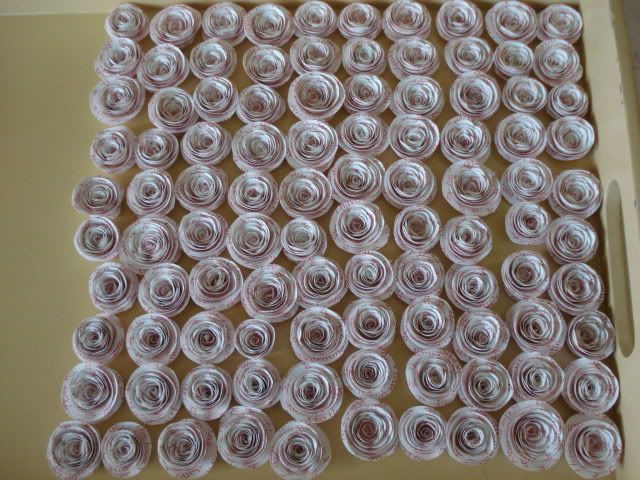
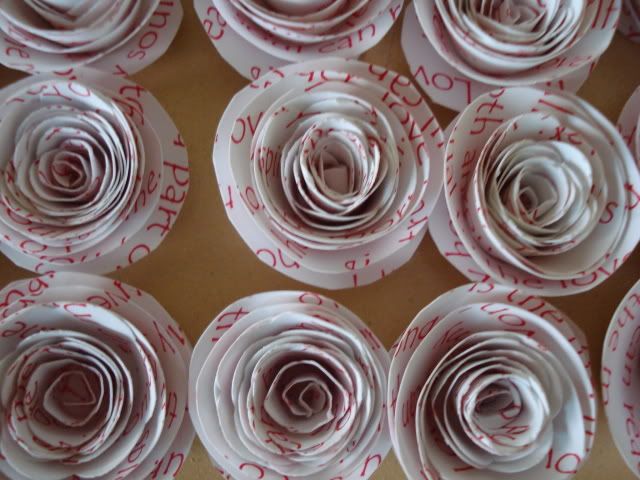
See the red ink? It ends up looking pink, which is exactly what I wanted.
Wrap the wreath form with torn strips (or ribbon). Then lay the form flat on a table and begin applying the rosettes inner and outter sides....
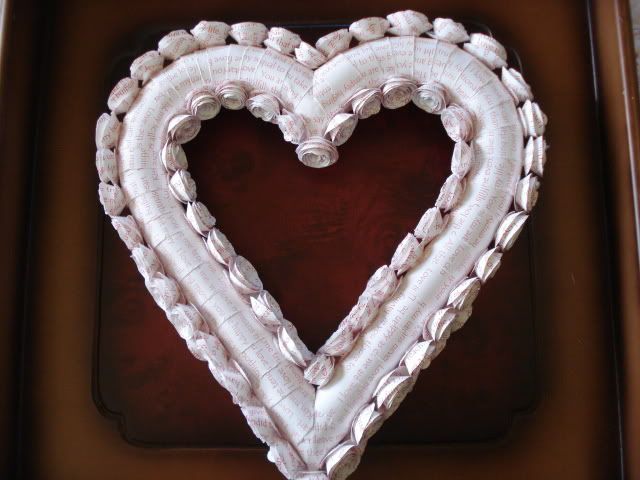
This process enables the wreath to lay flat against the wall.
Then started filling in. I'm afraid that the 100 rosettes only covered about half
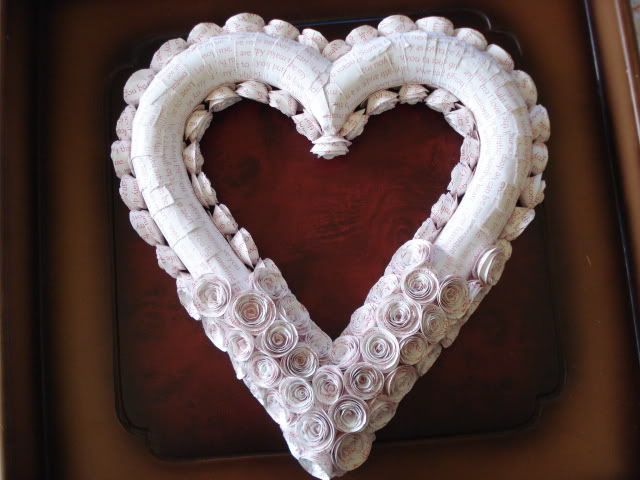
after making another 150+
can you say soooo pretty in pink?!
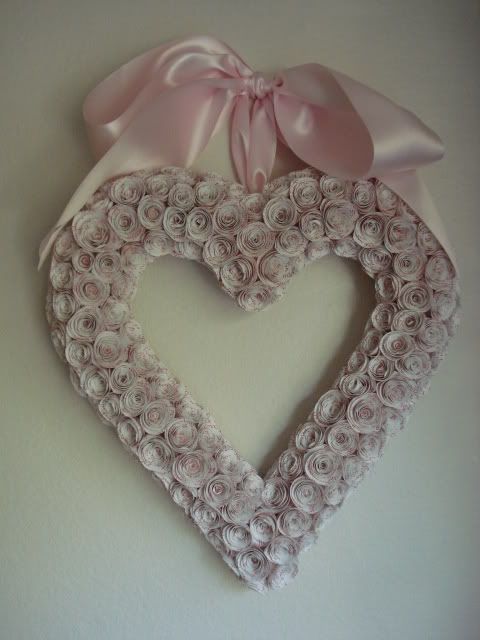
I added the pink satin ribbon to kick the sweetness up a notch ha!
Don't you just love it?!
Here is a look at the finished back....
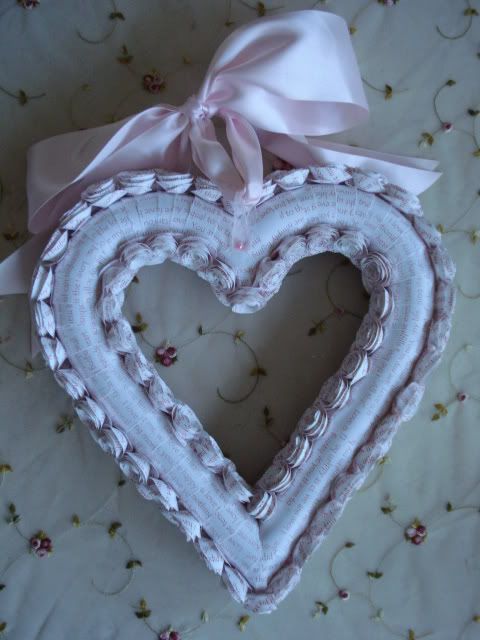
I must reiterate that these are such a pain in the patootie to make. As anyone who has created one of these will tell you they are very labor intensive!
But so darn worth it!
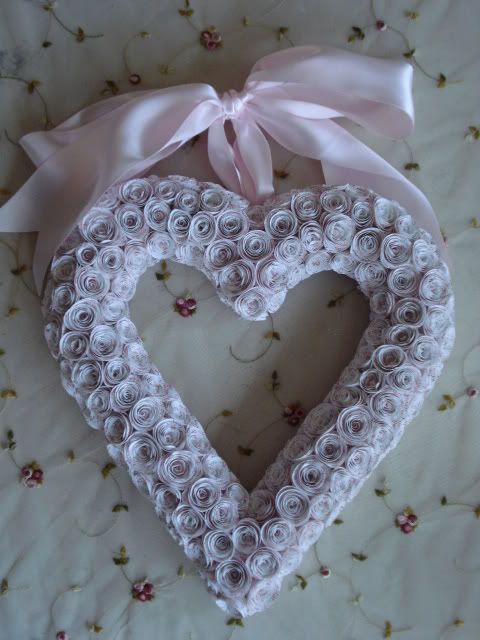
This pink heart wreath did me in! After rolling what seems like millions of these...
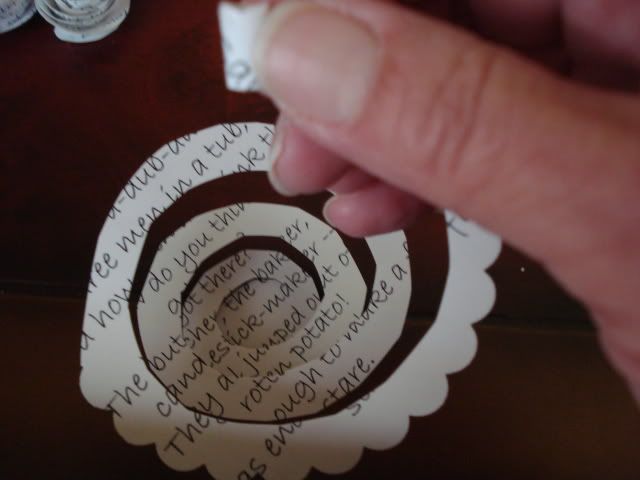
I ended up with....
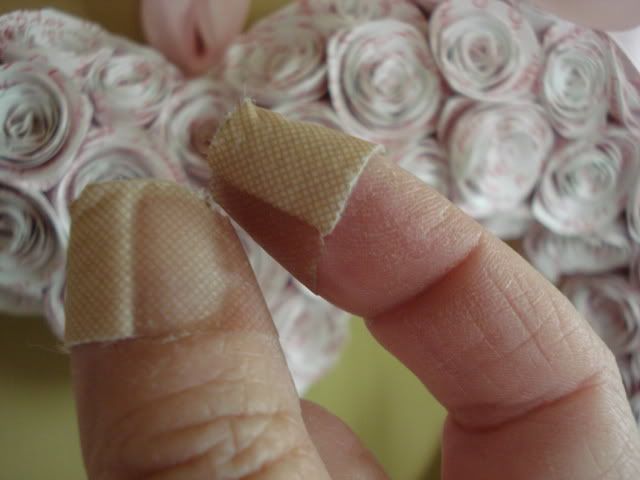
OUCHIES!
ahhhh...the price of beauty! ha! (I so need a manicure after all this!)
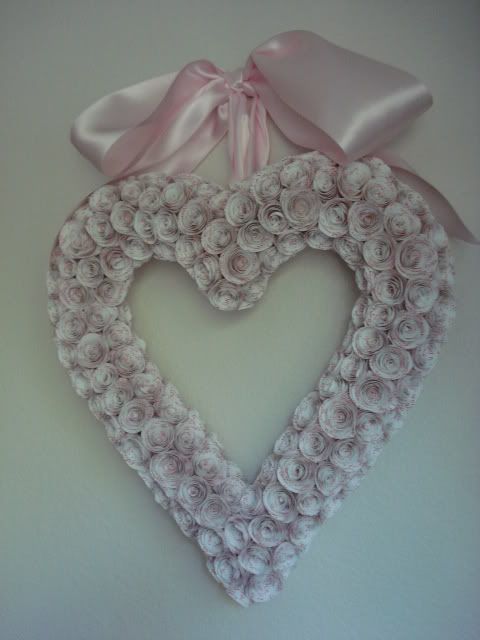
Needless to say, I'm just thrilled that I finally finished both. And I personally feel that DIY is just a nice way of saying Glutton for Punishment! ha! Maybe we should start a club? Or at the very least seek therapy....yes? ;)
I do hope my tutorial has been a help. Feel free to contact me if you have any questions at enchantedrosestudio@yahoo.com.
I'd love you see your finished project!
Thanks so much for stopping by and for taking the time leave me your sweet thoughts! You are a darling!!
Cheers!


4 comments:
Thank you so much Tina, for posting about this! I think I can do this and I can't wait to start! I will post you a pic when I finish!
Paper roses, paper roses... oh how real those roses seem to be.... (lol)
I love making wreaths. This addictive hobby started when it was first introduced in my art class. It's cheap to make too as all I'll be needing are recycled papers, plastics, and hot melt adhesive or popularly known as the glue gun. All I need to buy are the decorations such as buttons, laces, and ribbons.
I love your wreaths!!! Can't wait to start but where do you find the handwritten pages with cursive
lettering on them?
Thanks,
Sharon
Fabulous wreaths!!! Where does one find the paper with cursive writing on it?
Post a Comment