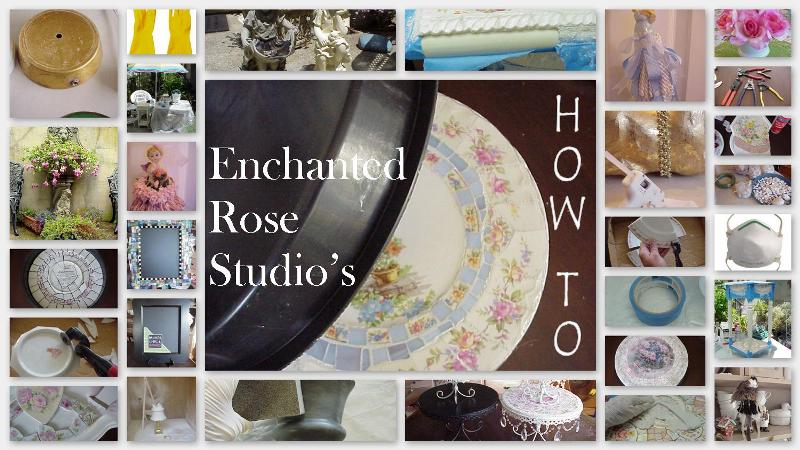
Welcome! Let's begin with this interesting little diddy. According to Dictionary.com, a glutton for punishment is: someone who habitually takes on burdensome or unplesant tasks or unreasonable amounts of work.
22.3.12
Making Paper or Book Page Roses and Wreath
Welcome! Let's begin with this interesting little diddy. According to Dictionary.com, a glutton for punishment is: someone who habitually takes on burdensome or unplesant tasks or unreasonable amounts of work.
Labels:
book+page,
craft,
diy,
enchanted+rose+studio,
home+decor,
how+to,
how+to+make,
paper,
tutorial,
wreath,
wreath+craft,
wreath+how+to
10.11.10
SPARKLING BOOK PAGE WREATH WITH PUNCH OUT FLORETTES
These wreaths are dazzling! There is so much to love about this type of wreath (plus you are recycling ha!)! I could go on for ages about how stunning these are, but best you should make one so you can see for yourself...yes?!

Supplies needed:
Supplies needed:
Labels:
christmas wreath,
cottage chic wreath,
cottage decor,
glitter book page wreath,
glitter wreath,
holiday decor,
holiday decorating,
how to,
how to wreath,
shabby chic wreath,
sparkling christmas wreath
15.10.10
3-TIERED SERVER TRANSFORMATION
This next makeover almost didn't happen. When I first saw this, I walked right by it. I immediately dismissed it as it wasn't close to what I wanted. A few steps later the light bulb *lit*
6.3.10
AQUA PAINT TREATMENT ~ HOW TO
 The aqua treatment on this urn fairly simple. There are 3 main steps, with an optional 4th:
Step 1: Base coat of Kilz original sealer/primer spray paint (Lowes/Home Depot). Let dry completely before moving on to Step 2.
Step 2: One coat of Design Master Robin's Egg #792 spray paint (Michaels). Let dry completely before moving on to Step 3.
Step 3: A mixture of uncolored glaze (Lowes) with a bit of American Accents, Blossom White paint (Home Depot). I use the glazing to tone down the Robin's Egg #792, as the color comes out very bright. If you like it that way, you can skip this step.
The glazing process is the "make or break" step. Brush on your glazing, then wipe it off. If you take off too much, you can always apply more and wipe some off.
Labels:
aqua,
aqua paint treatment,
beach cottage,
diy,
galzing,
home decor,
pink,
pink roses,
romantic,
shabby chic,
spray paint
21.2.10
HOW TO MAKE A STYROFOAM BASE WREATH
 I have received a few inquiries about how I create my wreaths. So I thought it would be a good idea to add it to my "How To" library of tutorials.
 You can use any material that you can safely glue onto the ribbon covered base. Seashell and faux flowers are quite popular. Other items are fabric flowers, buttons, rhinestones, jewelry, faux pearls, nuts, candy, just to name a few.
Keep in mind that if you want to use heavier materials use a smaller wreath base or use a stronger adhesive. If I were to create a larger seashell wreath over 15" I would use a much strong adhesive, such as E6000 or gorilla glue.
There are many shapes and sizes that are available from hobby/craft stores as well as online craft supply stores.
Labels:
beach cottage,
cottage,
home decor,
how to,
make a wreath,
shabby chic,
wreath arranging,
wreath making
2.2.10
HOW TO MAKE A SEASHELL FRAME
 Basic Supplies:
Frame
Seashells ~ assorted types and sizes
Focal ~ in this project I used a Star fish
Adhesive ~ you can use glue stick or any adhesive that will dry clear. For this project I used industrial strength E6000. You can find it online and at most hobby or hardware stores.
Plastic disposable gloves
Primer ~ Spray or brush on
Paint ~ Spray or bush on
Dust Mask
Note: If using E6000 industrial adhesive, be sure your work area is well ventilated.
If you will not be painting your frame, just give it a light sanding to give the glue something to "grab" onto.
Choosing a frame ~ This works for any type of frame, be it for photos, mirror, or black/chalk board, as long as you have ample room for the shells. I look for frames with ample recessed areas for a more polished look.
Labels:
beach chic,
beach cottage,
beachy cottage,
cottage,
creating,
decorating,
frame,
home,
home decor,
how to make,
photo frame,
seashells,
shabby chic
1.12.09
BEADED HOLIDAY REINDEER
Labels:
beaded reindeer,
christmas,
gold,
holiday,
holiday craft,
how to,
paper mache,
red,
reindeer craft
5.8.09
HOW TO GROUT YOUR MOSAIC SURFACE
 Now that you have adhered your tiles to your mosaic base, it is time to grout your piece. Before you begin I'd like to offer some helpful hints that will make your grouting experience as well as the clean up a more satisifying experience.
One important factor to consider ~ once you start the grouting, you must see it though the finish. Grout is much more difficult to remove the more it cures.
Subscribe to:
Comments (Atom)
